3 Image-Killing Lightroom Errors You Must Fix Today (VIDEO)
Today’s post-processing tutorial from the popular Photo Feaver YouTube channel falls into the common category of “my images don’t look as great on the computer as they did through the viewfinder.” Fortunately, it’s easy to create the high-quality results you expect by avoiding three common Lightroom mistakes made by beginners and more experienced users alike.
Instructor James Feaver (namesake of the channel) puts it like this: “We’ve all been there, trying to edit our photos to make them looks as best as possible. But sometimes they come out bland, flat, undersaturated, or in some cases even looking like rubbish.” That’s a bit harsh, but you get the idea; namely, they beg to be improved.
The trio of simple tips you’ll learn in barely eight minutes will help turn the tide and provide a welcome wave of head-turning edits. Feaver refers to the first calamity as “Dynamic Range Doom” that either occurs when you don’t utilize Raw files properly or employ the wrong sliders to make exposure changes that cause an unwanted reduction in dynamic range.

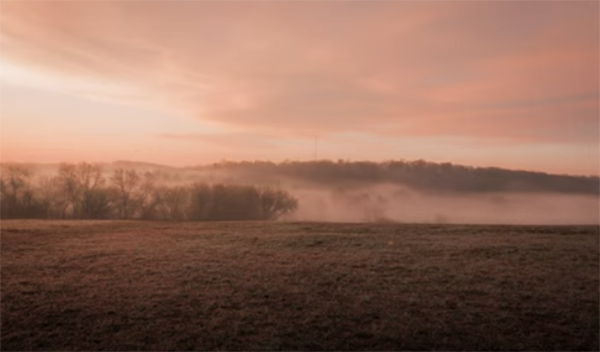
His example is an unimpressive landscape photo that looks really flat “because of what we’ve done within Lightroom’s Basic panel.” His preliminary edit included modifying exposure and bumping up contrast by 25%, but the image still looks boring and dull. As you’ll see, the issue has to do with an improper use of the sliders underneath; namely, highlights, shadows, whites, and blacks.
Fever explains that the white and black sliders are very nuanced, and “you want to avoid making any exposure changes with them.” Put another way, your images may look washed out if you take an incorrect approach. One quick clue is when white tones appear muddy light gray. So check out the quick solution that Feaver provides.
Next on the list is the so-called “Contrast Conundrum” and Fever illustrates this one with an environmental portrait of a bride and groom walking along a path in a lush, green landscape scene. As you’ll see, simply “wacking up contrast” doesn’t really help (and may create other problems like an unnatural dark appearance) unless you follow the advice that Feaver recommends for eliminating “image stress.”

The episode concludes with a description of Fever’s “100% Rule” that’s super simple and goes like this: “Never use a slider or an effect to it’s absolute maximum.” Otherwise, bad things with unsightly results are sure to happen. He demonstrates this mistake with an indoor portrait that has a lot to be desired.
There are plenty of good things happening on Feaver’s very helpful YouTube channel, with how-to videos covering a wide range of topics.
And don’t miss another tutorial we featured with a very popular instructor who demonstrates five simple post-processing tips that all landscape photographers should understand. The lesson includes a useful reference guide that you can download for FREE!


You May Also Like

Unconventional Tips for Unique Wide-Angle Nature Photos (VIDEO)

12 FREE Gradients for Fast, Creative Photo Effects (VIDEO)
